No products in the cart.
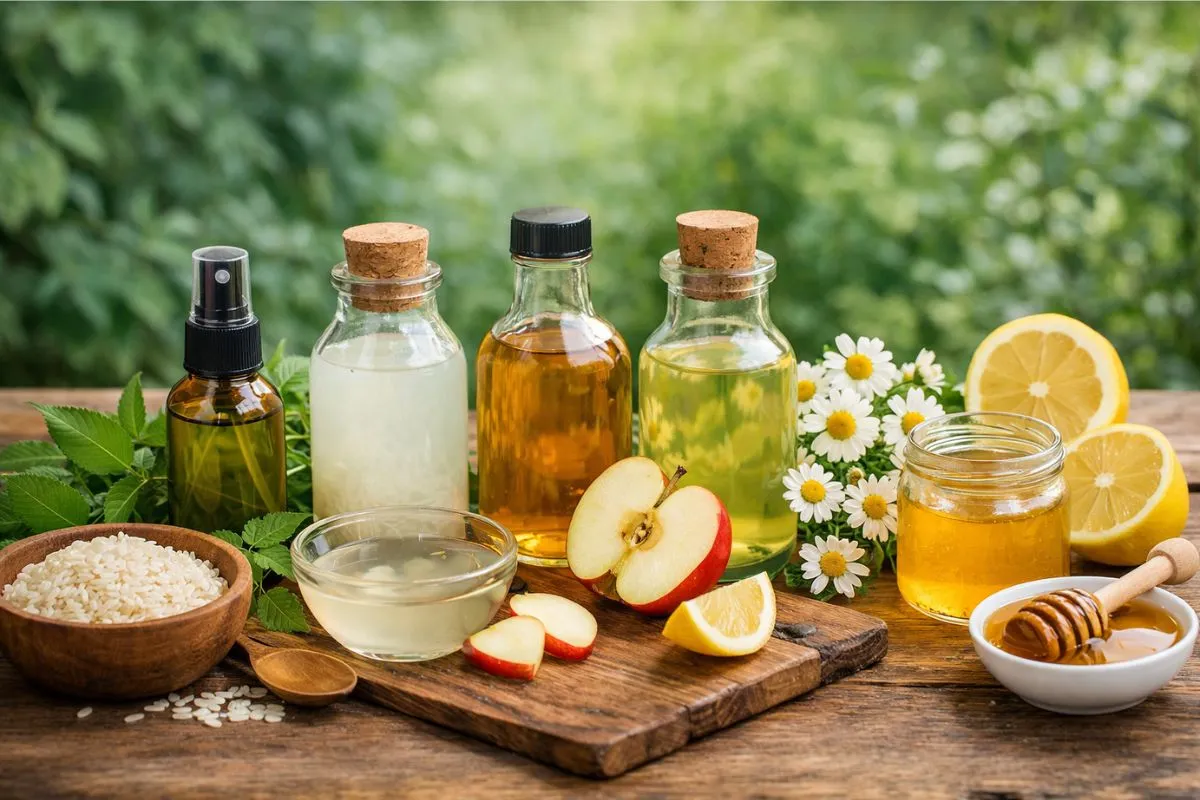
Healthy, radiant skin doesn’t always need complicated routines or expensive products. Sometimes, the simplest solutions like a natural skin toner can transform your skin in the most gentle yet powerful way. From calming inflammation to tightening pores and balancing oil, a well-made diy toner can become your skin’s daily reset button.
But here’s what most people don’t realize… not every natural toner works for every skin type. Some can heal your skin barrier, while others might silently irritate it. So how do you know which one truly works? That’s exactly what we’re about to uncover.
Why Use a Natural Skin Toner for Clear Skin?
A natural skin toner is more than just an extra step it’s a targeted treatment that helps:
- Remove leftover impurities after cleansing
- Balance skin pH naturally
- Minimize pores and excess oil
- Calm acne and inflammation
- Prepare skin for serums and moisturizers
Unlike chemical-heavy options, a natural toner for face uses plant-based ingredients that work with your skin, not against it. Whether you’re dealing with breakouts or dullness, a diy face toner can restore clarity and balance.
How to Choose the Right Natural Toner for Your Skin Type
Not every homemade toner suits all skin types. Choosing the wrong one can cancel out the benefits and sometimes even trigger breakouts or irritation. The key is understanding what your skin actually needs, not just what sounds “natural.”
Oily & Acne-Prone Skin
These ingredients help control excess oil production while fighting acne-causing bacteria. A good toner for oily skin should feel light, refreshing, and slightly astringent without over-drying. If your skin feels tight after using a diy toner, it’s probably too harsh.
Dry Skin
Dry skin needs hydration more than anything else, so your toner should focus on moisture retention. Ingredients like glycerin pull water into the skin, while aloe and rose water soothe and soften. A well-balanced homemade face toner will leave your skin plump, not sticky or greasy.
Sensitive Skin
Sensitive skin reacts quickly, so your diy skin toner should be calming and minimal. These herbal ingredients reduce redness, irritation, and inflammation without disrupting your skin barrier. Always go for alcohol-free natural skin toners and do a patch test before full use.
Combination Skin
Combination skin needs a middle-ground approach hydration for dry areas and oil control for the T-zone. A balanced natural toner helps maintain harmony without overcorrecting either side. The right diy face toner should make your skin feel even and refreshed, not confused.
8 Homemade Herbal Toner Recipes for Clear Skin
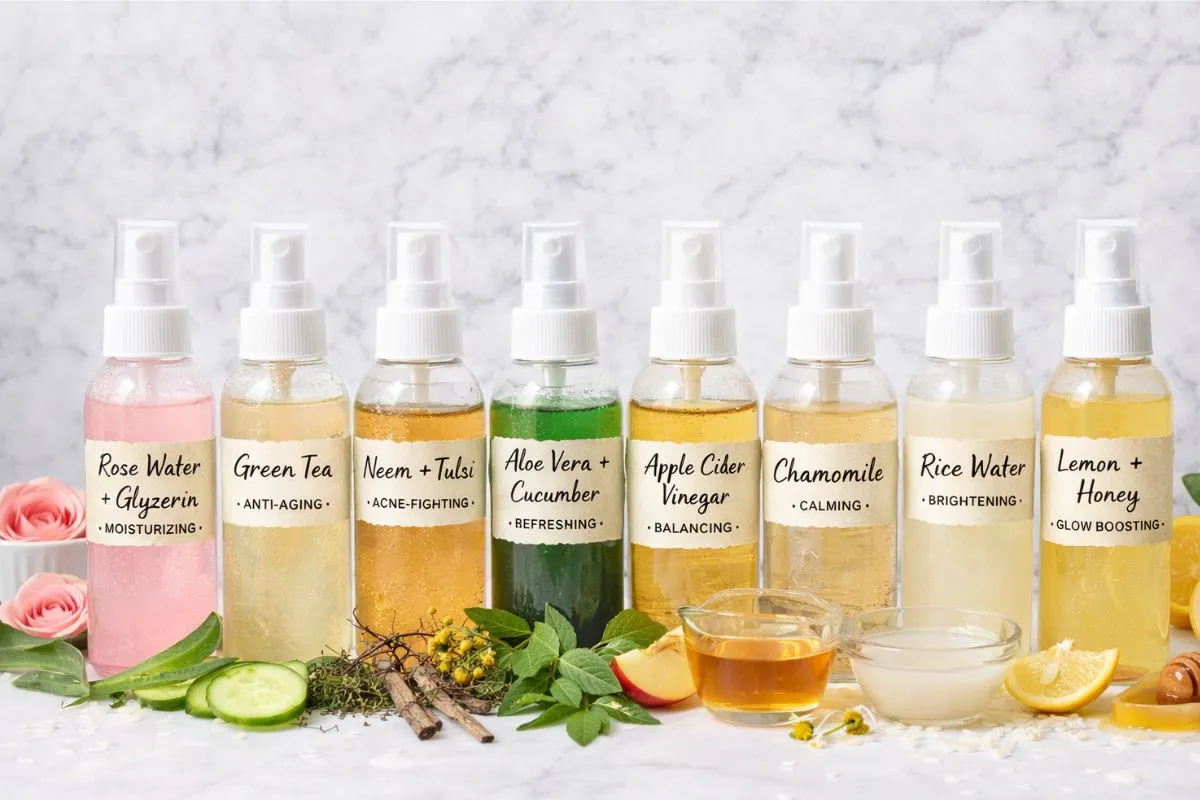
1. Rose Water + Glycerin Natural Skin Toner
Ingredients:
- 3 tbsp rose water
- 1 tsp glycerin
Best for: Dry and dull skin
This gentle toner is a beautiful choice for skin that feels dry, rough, or tired. To make it, simply mix 3 tablespoons of rose water with 1 teaspoon of glycerin in a clean bowl, then pour it into a sterilized spray bottle or small container. After cleansing, apply it to your face using a cotton pad or lightly mist it over your skin and let it absorb on its own. It works especially well in the evening, but you can also use it in the morning when your skin needs a soft, fresh start.
What makes this diy toner so effective is the way it hydrates and comforts the skin without feeling heavy. Rose water helps refresh and soothe, while glycerin draws moisture into the skin and helps keep it there. With regular use, this toner can leave your skin feeling softer, smoother, and more naturally radiant. Because this is a homemade face toner, it should be stored in the refrigerator and used within 7 to 10 days for the best freshness and results.
2. Green Tea Acne Toner
Ingredients:
- 1 cup green tea (cooled)
- 2–3 drops tea tree oil
Best for: Oily and acne-prone skin
This refreshing toner is a solid go-to when your skin feels oily, congested, or breakout-prone. To make it, brew 1 cup of green tea and let it cool completely, then add 2–3 drops of tea tree oil and pour it into a clean bottle. After cleansing, apply this diy face toner using a cotton pad or light mist, focusing on areas where oil and acne show up the most. You can use it once or twice daily depending on how your skin responds.
Green tea is packed with antioxidants that calm inflammation, while tea tree oil targets acne-causing bacteria, making this a gentle but effective acne toner. With consistent use, this natural toner helps reduce redness, control excess oil, and keep pores clearer over time. Since it’s a homemade toner, store it in the fridge and use it within 5–7 days. If your skin starts to feel dry, easing back slightly balance is doing the real work here.
3. Aloe Vera + Cucumber DIY Face Toner
Ingredients:
- 2 tbsp aloe vera gel
- 3 tbsp cucumber juice
Best for: Sensitive skin
If your skin leans sensitive, irritated, or just easily overwhelmed, this calming toner is worth keeping close. To prepare it, blend fresh cucumber and strain the juice, then mix 3 tablespoons of it with 2 tablespoons of aloe vera gel until smooth. Store the mixture in a clean bottle and apply after cleansing using your hands or a cotton pad, letting your skin drink it in without rinsing.
This diy toner works by instantly cooling and soothing the skin, reducing redness and helping your barrier settle down. Aloe vera hydrates and repairs, while cucumber refreshes and tones gently, making this a soft yet effective natural toner for face. Over time, it can help your skin feel calmer, clearer, and more balanced. Keep this homemade face toner refrigerated and use it within 4–5 days, as fresh ingredients don’t like to hang around too long.
4. Neem + Tulsi Herbal Acne Toner
Ingredients:
- 10–12 fresh neem leaves (or 1 tablespoon dried neem)
- 10–12 fresh tulsi (holy basil) leaves (or 1 tablespoon dried tulsi)
- 1½ cups water
Best for: Severe acne
When breakouts keep circling back, this herbal toner leans into stronger plant-based support without going harsh. To make it, boil a handful of neem and tulsi leaves in water for 8–10 minutes, let it cool completely, then strain and store the liquid in a clean bottle. After cleansing, apply this diy face toner with a cotton pad, focusing on acne-prone areas, and let it absorb naturally. Start with once daily, then adjust based on how your skin feels.
Neem and tulsi are known for their antibacterial and anti-inflammatory properties, making this a potent acne toner that helps calm active breakouts and prevent new ones. With consistent use, this natural toner can reduce redness, control oil, and support clearer-looking skin. Keep it refrigerated and use it within 5–7 days. If your skin is sensitive, consider diluting it slightly, this one works best when it’s effective, not aggressive.
5. Apple Cider Vinegar DIY Toner
Ingredients:
- 1 tablespoon apple cider vinegar
- 3 tablespoons water (for normal/oily skin)
Best for: Oily skin
This balancing toner is simple but powerful, especially if your skin feels oily or your pores look more visible than you’d like. To prepare it, mix 1 part apple cider vinegar with 3 parts water (always dilute), then store it in a clean bottle. After cleansing, apply gently with a cotton pad, avoiding the eye area, and let it dry before continuing your routine. Use it once daily to start, then adjust depending on your skin’s tolerance.
Apple cider vinegar helps restore the skin’s natural pH and lightly exfoliates, making it an effective diy toner for smoother texture and tighter-looking pores. Over time, this natural toner for face can help reduce excess oil and support clearer skin, but it’s one to respect too strongly, and it can irritate. Store this homemade face toner in a cool place or fridge and use it within 7–10 days. If you notice tingling that feels like a warning rather than a whisper, dilute it further. Your skin usually tells the truth early.
6. Chamomile Herbal Toner
Ingredients:
- chamomile tea bag (or 1 tablespoon dried chamomile flowers)
- 1 cup (240 ml) hot water
Best for: Irritated skin
This calming toner is the one you reach for when your skin feels irritated, flushed, or just not in the mood for anything harsh. To make it, steep chamomile tea in hot water, let it cool completely, and pour it into a clean bottle. After cleansing, apply this diy face toner using a cotton pad or gentle mist, allowing it to settle into the skin without rinsing. It works beautifully in both morning and evening routines, especially when your skin needs a reset.
Chamomile is known for its soothing and anti-inflammatory properties, making this toner ideal for reducing redness and calming sensitivity. With regular use, this diy toner can help your skin feel more balanced, less reactive, and visibly softer over time. Since it’s a homemade toner, store it in the refrigerator and use it within 5–7 days to keep it fresh and effective. It’s a quiet kind of product, no drama, just steady comfort.
7. Rice Water Natural Skin Toner
Ingredients:
- ½ cup uncooked rice
- 1 cup water (for soaking)
Best for: Brightening
This traditional toner carries that subtle glow everyone’s chasing without doing too much. To prepare it, rinse rice thoroughly, soak it in water for several hours or overnight, then strain and store the liquid in a clean container. After cleansing, apply this diy face toner with your hands or a cotton pad, gently pressing it into your skin so it absorbs fully. It’s light enough for daily use and fits easily into any routine.
Rice water is rich in vitamins and minerals that help improve skin texture and brighten the complexion, making it a gentle yet effective natural toner. Over time, this diy toner can leave your skin looking smoother, clearer, and more refined without irritation. Keep it refrigerated and use it within 4–5 days. If it starts to smell off, it’s done, freshness matters more than stretching it.
8. Lemon + Honey DIY Toner
Ingredients:
- 1 teaspoon fresh lemon juice
- 1 tablespoon honey
- 2 tablespoons water
Best for: Uneven skin tone
This brightening toner is simple but effective when your skin looks dull or uneven. Mix all ingredients well until the honey fully dissolves, then store it in a clean container. After cleansing, apply this diy face toner gently using a cotton pad or your fingertips, avoiding the eye area. Let it sit for a few minutes before layering the rest of your skincare.
Lemon helps lightly exfoliate and improve skin tone, while honey adds hydration and soothing support, making this a balanced natural toner when used correctly. Over time, this diy toner can help your skin look clearer and more refreshed. Keep it refrigerated and use it within 3–4 days. Also use it only at night and always patch test first, because lemon can be a little unpredictable if your skin decides it’s not in the mood.
Common DIY Toner Mistakes to Avoid
Even the best diy toner can fail if used incorrectly:
- Using undiluted ingredients
- Storing for too long
- Skipping patch tests
- Overusing strong ingredients like lemon or ACV
A good skin toner should support your skin, not stress it.
How Often Should You Use a Natural Skin Toner?
- Oily skin → twice daily
- Dry/sensitive skin → once daily
- Acne-prone → depends on ingredient strength
Consistency is key. Even the best skin toners need time to show results.
Upgrade Your Skincare with Hudira
If you love the idea of herbal skincare but want reliability and results, explore Hudira’s natural skincare range.
Crafted with care, backed by nature, and designed for real results, Hudira brings you the power of herbal beauty without the guesswork.
FAQs
Q. How to make skin toner at home for clear skin?
You can make a natural skin toner using ingredients like rose water, aloe vera, or green tea. Choose based on your skin type.
Q. Is a diy toner safe for daily use?
Yes, a mild diy face toner can be used daily if ingredients are gentle and properly diluted.
Q. Which natural toner is best for acne?
A natural toner with neem, tea tree, or green tea works best as an acne toner.
Q. Can I store homemade toner?
Yes, but most homemade toner lasts 5–10 days in the fridge.
Q. Are natural skin toners better than chemical ones?
Natural skin toners are gentler, but results depend on formulation and consistency.


One comment
Pingback:
Why Oily Skin in Summer Feels So Intense and Fixable